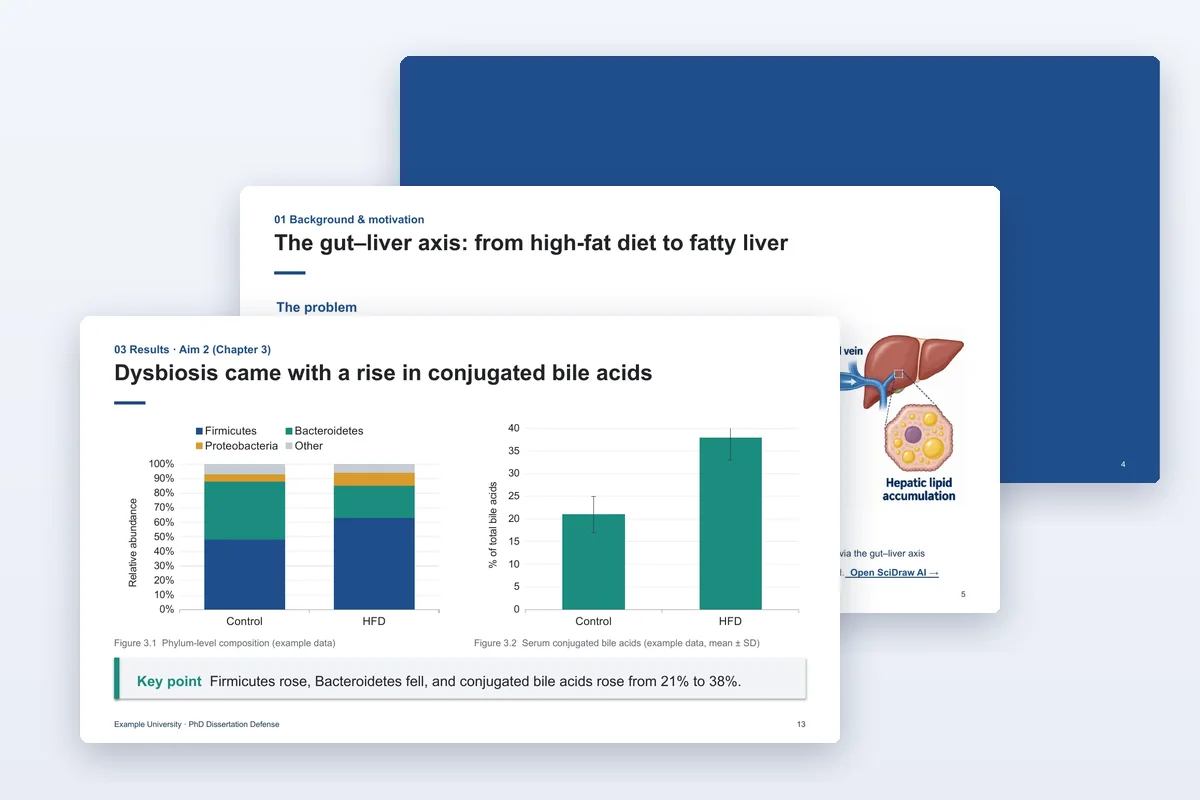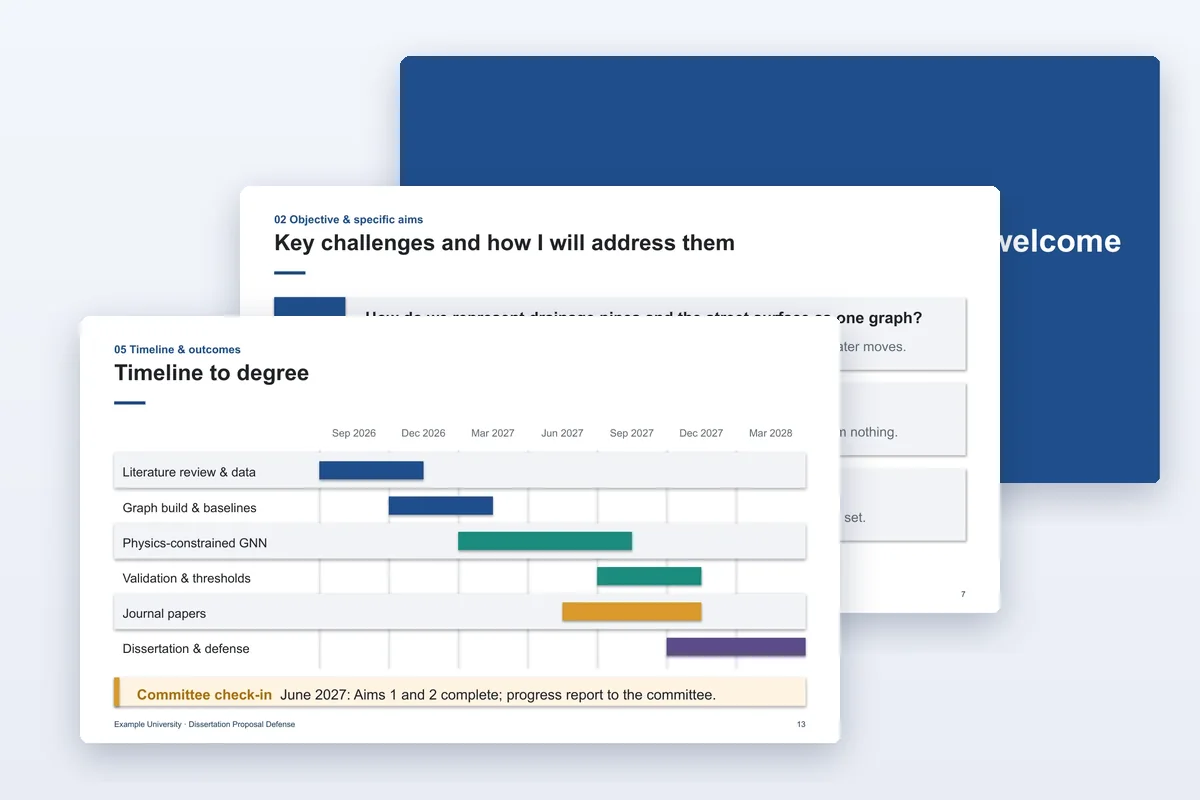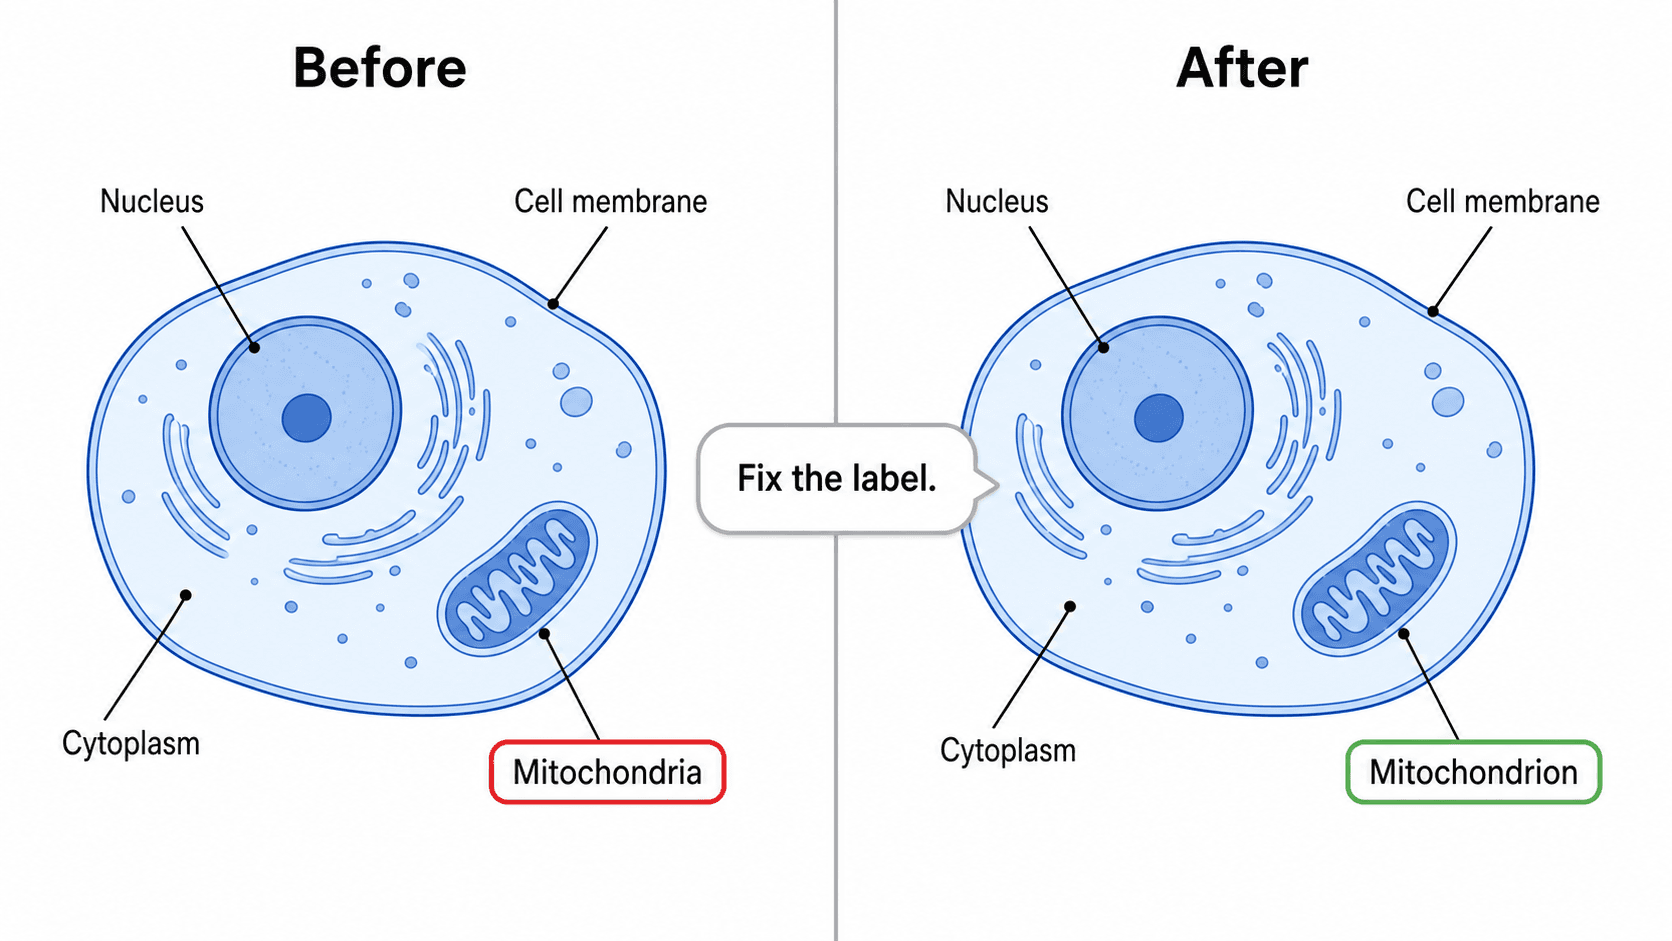
Thesis figures usually get pushed to the final week — and the result is improvised mechanism diagrams, mismatched flowcharts, contradictory captions, and a resolution that gets the whole thing sent back. Yet if you sort out which figures each chapter needs, which tool makes them, and how to keep one style from the start, figures become fast and steady work.
This guide is for master's and PhD (degree) theses. It breaks a full figure set into an executable workflow: which chapters need which figures, how to draw mechanism and flow diagrams, how to set DPI and type size, and how to compress the whole job into a few hours with AI.
What you'll learn:
- A figure checklist for each thesis chapter
- How to draw mechanism, flow, and framework diagrams
- Four rules for one consistent style across the whole thesis
- Resolution and export: DPI, vectors, and editable formats
Which figures does each chapter need?
Get the checklist first, then draw — it avoids patching figures as you write and ending up with a scattered style:
| Chapter | Common figures | Recommended tool |
|---|---|---|
| Introduction / background | Research framework, technical roadmap | Research framework tool, roadmap generator |
| Theory / mechanism | Mechanism diagrams, principle schematics | Mechanism figure generator |
| Methods / experimental design | Experimental flowcharts, setup schematics | Scientific diagram tool |
| Results / data | Cleaned-up data figures, comparisons | Scientific figure maker |
| Conclusion / outlook | A summarizing graphical abstract | Graphical abstract maker |
Run your own table of contents against this and fill the gaps — far calmer than inventing figures halfway through.
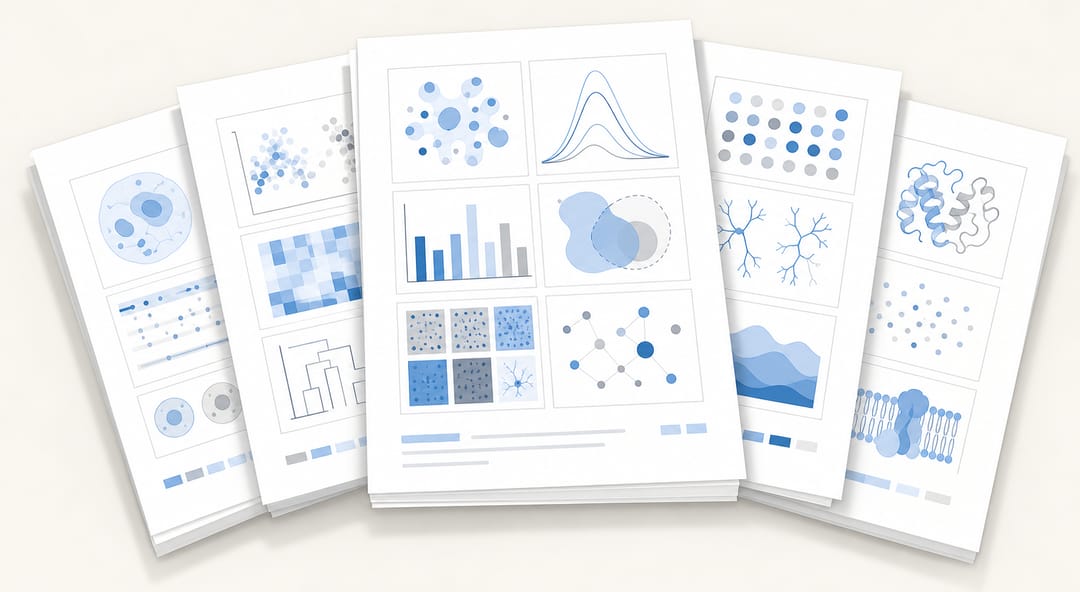 Map each chapter's figures against your table of contents before drawing — a workflow SciDraw AI speeds up.
Mechanism diagrams: make "why it happens" clear
The mechanism diagram is the heart of the theory chapter, and the easiest one to make a mess of. Keys:
- One main causal chain: from input/stimulus, through key intermediates, to result/phenotype — straighten the main line first.
- Distinct levels: separate molecular, cellular, and tissue layers by region or background; don't pile everything on one plane.
- Consistent arrow semantics: use distinct arrow styles for activation, inhibition, and conversion, and explain them in a legend.
- Restrained labels: mark only the key molecules/steps; leave secondary detail to the text.
Hand-drawing mechanisms is slow and hard to keep uniform — describe the pathway or mechanism in words and let the mechanism figure generator produce a clean draft to refine.
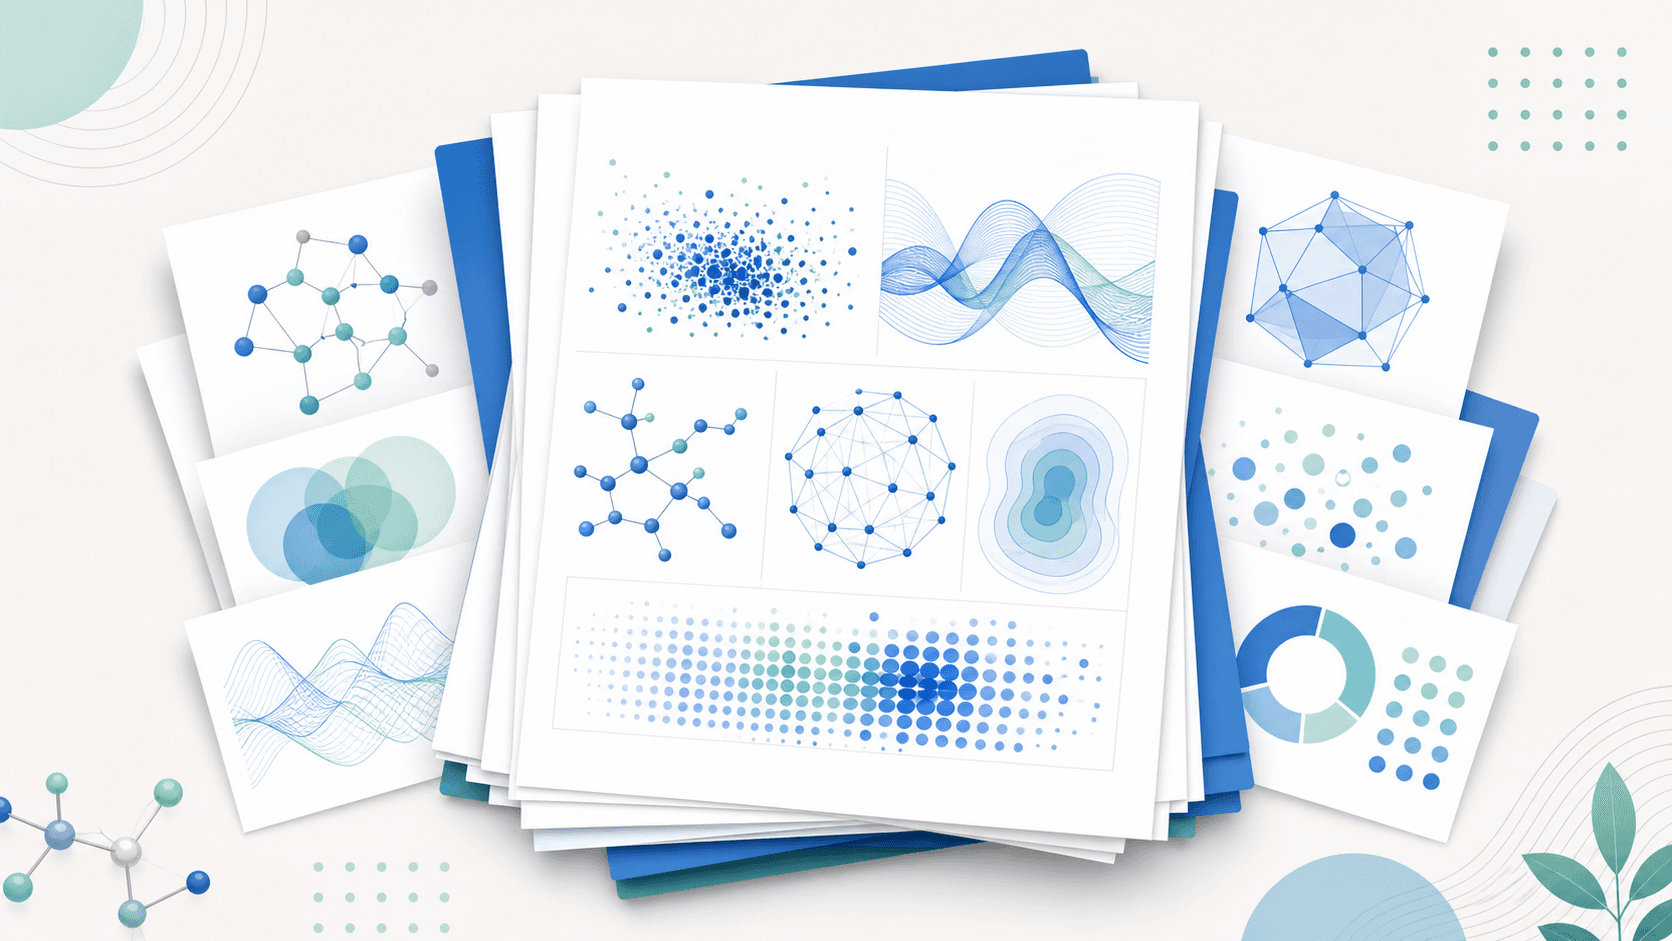
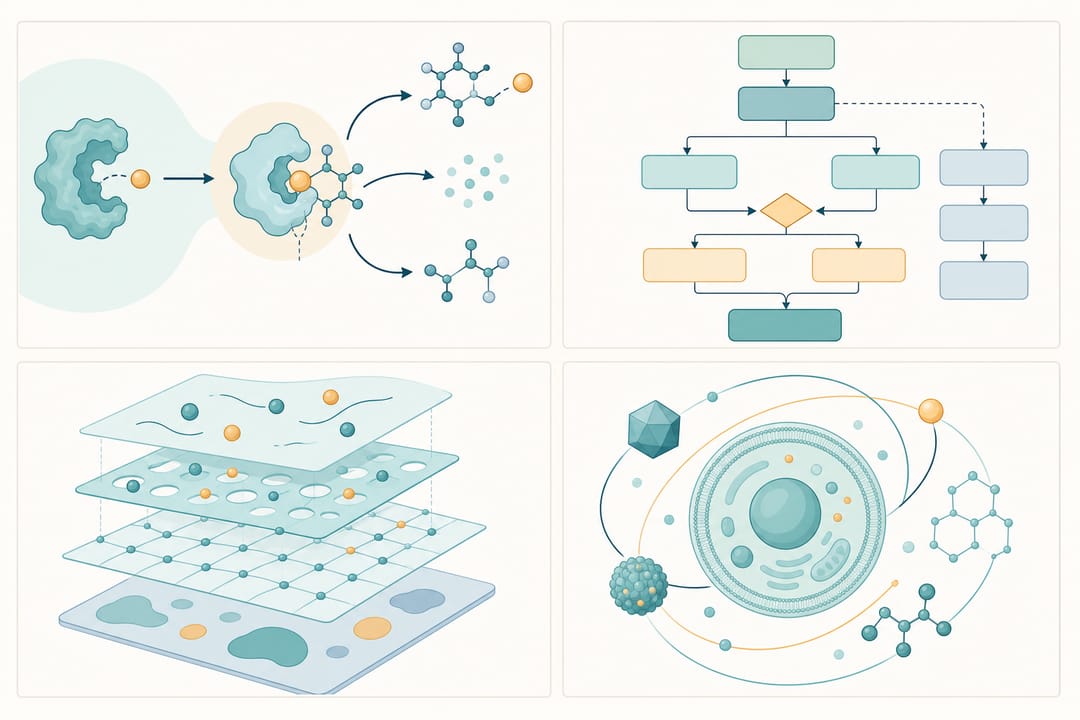 A cohesive figure set across chapters — mechanism, flow, and schematics — generated with SciDraw AI.
Flowcharts and schematics: make "how it's done" crisp
Experimental flowcharts and setup schematics exist so someone can reproduce your work:
- Steps move one direction; branches use decision boxes; loops use a loop arrow.
- Each step is executable: write what to do, not abstract nouns.
- Setup figures follow real spatial relationships — don't sacrifice logic for looks.
Generate these from a description with the scientific diagram tool, then adjust.
Four rules for one consistent style
With dozens of figures in a thesis, the biggest source of "unprofessional" is inconsistent style. Lock these four:
- Color: one palette across the whole thesis (one main color + one accent + grayscale), reused across chapters. See the scientific color guide.
- Type size: uniform in-figure text, and at print size no smaller than about 70% of body text, so it stays readable when scaled down.
- Lines: arrow weights, box corners, and border widths consistent throughout.
- Captions: one caption format ("Figure X-Y: title + description"), consistent terminology. Draft captions with a figure legend generator, then polish.
Tip: make one "template figure" that fixes color, type size, and line style, then align every other figure to it.
Resolution and export: don't crash at the last step
The most common reason figures get returned at defense or submission is technical — blurry images, wrong format:
| Requirement | Typical spec |
|---|---|
| Resolution | Body figures ≥ 300 DPI; line art 600 DPI recommended |
| Format | Raster TIFF/PNG; keep editable SVG / PPTX |
| Fonts | Embedded or outlined to avoid missing glyphs on other machines |
| Color | Make sure it's still distinguishable in grayscale print |
Two practical moves:
- Save an editable version: keep every figure as an editable SVG / PPTX so re-labeling on advisor feedback isn't a redraw.
- Check before submitting: verify actual DPI, format, and color with the figure checker, then export the required format with the image converter.
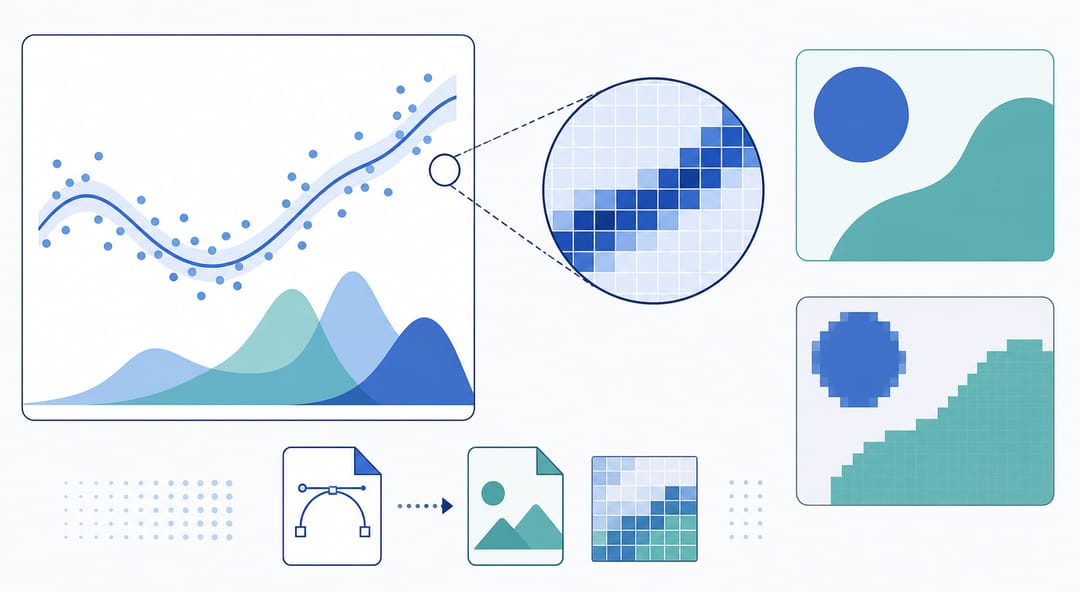 Get DPI, format, and editable vectors right so figures aren't sent back. Check and export with SciDraw AI.
Compress a week into a day
Stringing it together:
- List the checklist — confirm each chapter's figures against the TOC.
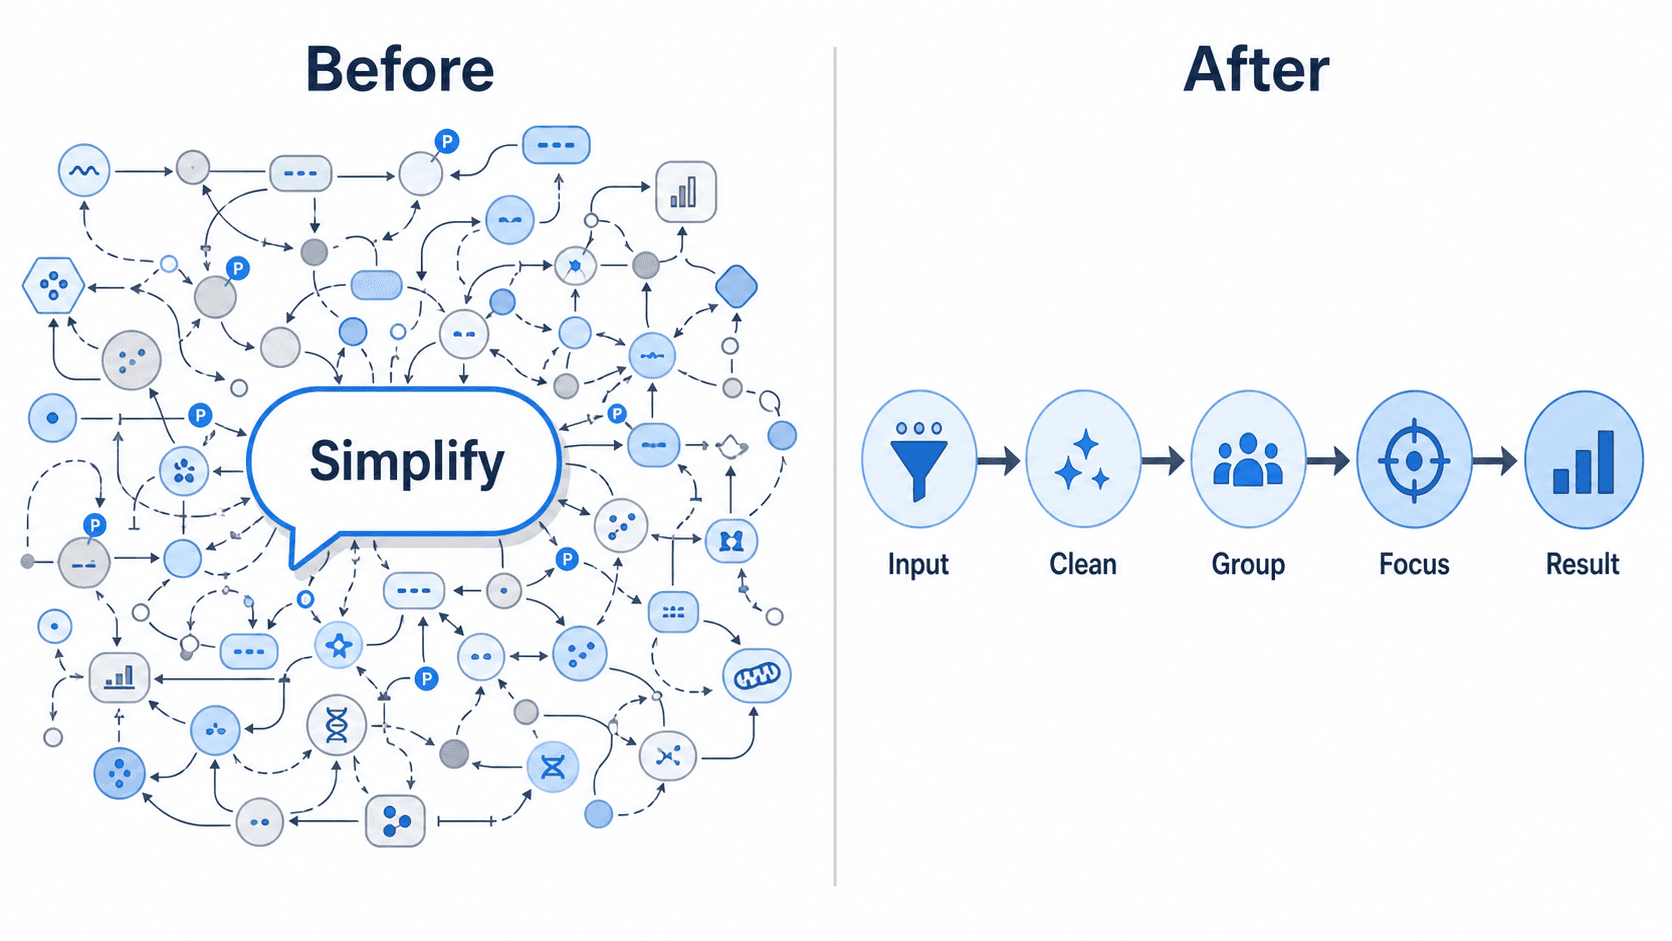
- Batch the drafts — generate mechanism, flow, and framework diagrams from text with the matching tools.
- Unify the style — align color, type, and lines to your template figure.
- Write captions — draft in one consistent format.
- Export and check — keep editable versions, export the submission format, run a resolution check.
Versus "hand-draw in the final week with endless rework," this brings thesis figures down from a week to roughly a day.
Start now
Describe a figure your chapter needs in one sentence and generate a draft with SciDraw AI — free credits to start, editable format throughout, reusable across defense, submission, and publication. For the proposal-stage roadmap, see the thesis proposal roadmap guide.
FAQ
What DPI do thesis figures need? Body figures are usually required at no less than 300 DPI, and pure line art at 600 DPI. Confirm the real resolution with the figure checker before exporting — don't trust on-screen display.
My mechanism diagram is too complex to draw — what do I do? Straighten one main causal chain first, cut secondary detail into the text, then generate from a description with the mechanism figure generator; layer it and unify arrow semantics before fine-tuning.
How do I keep dozens of figures consistent? Make one template figure that fixes color, type size, and line style, then align all others to it; reuse one palette across the whole thesis instead of tuning each figure separately.
My advisor keeps requesting figure edits — how do I cut rework? Save every figure as an editable SVG / PPTX. Edit labels or colors directly, or regenerate — never redraw from a raster.
I'm not sure how to handle submission formats. Use the image converter to export TIFF/PDF/PNG per your school or journal's requirements, and confirm DPI and color are within spec.