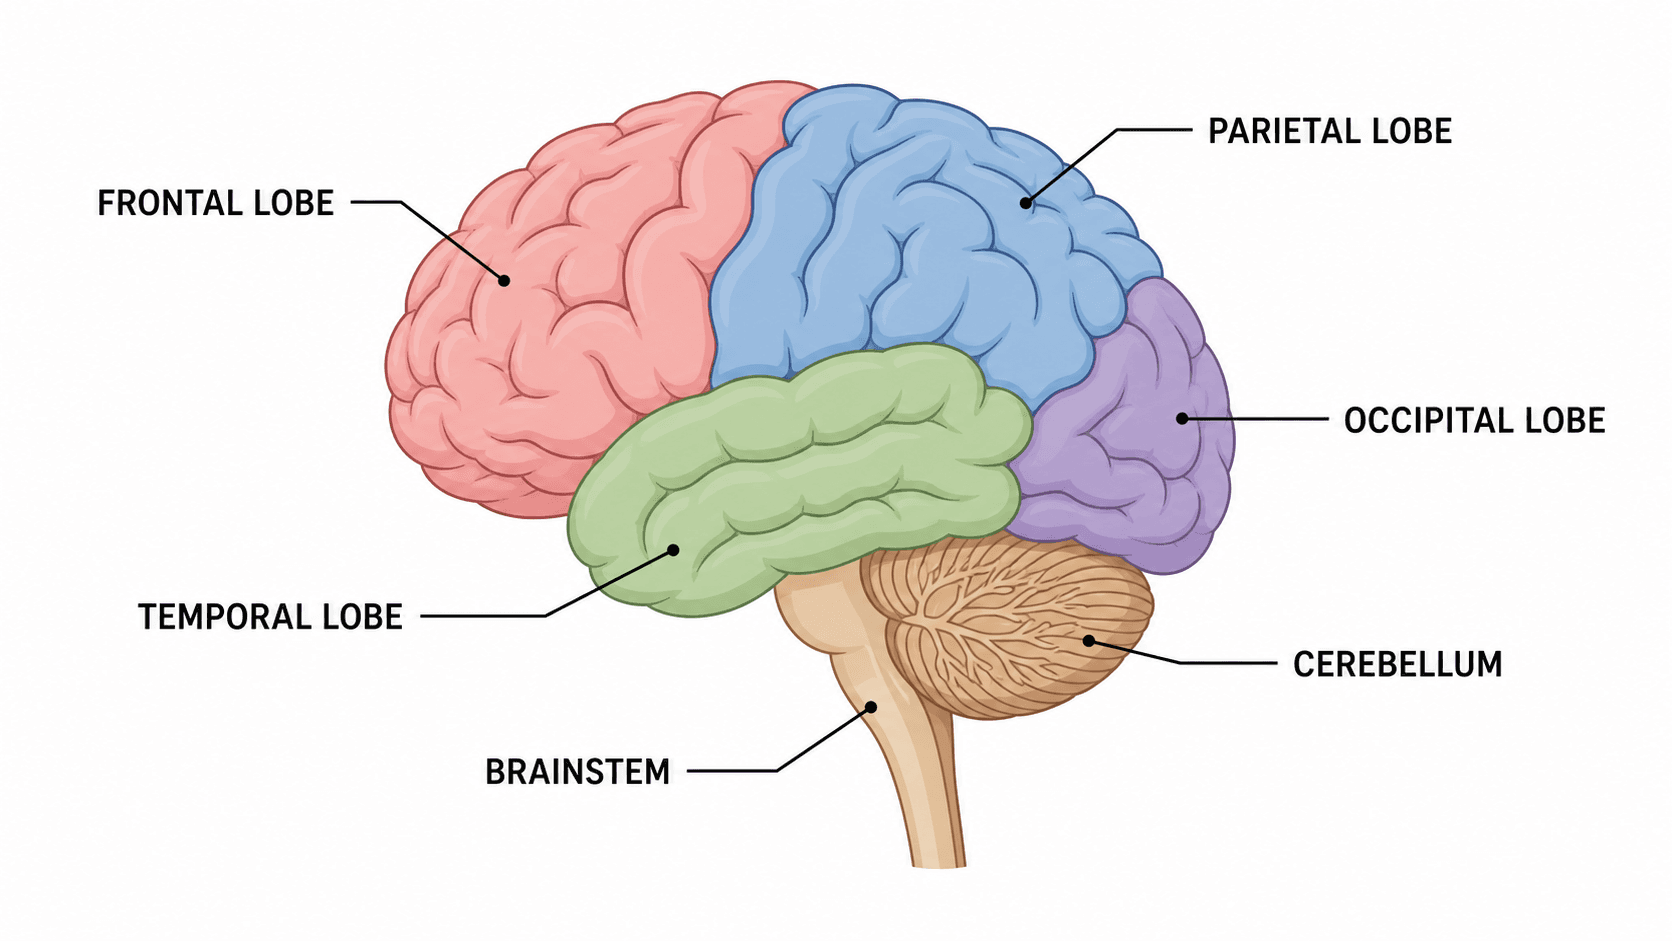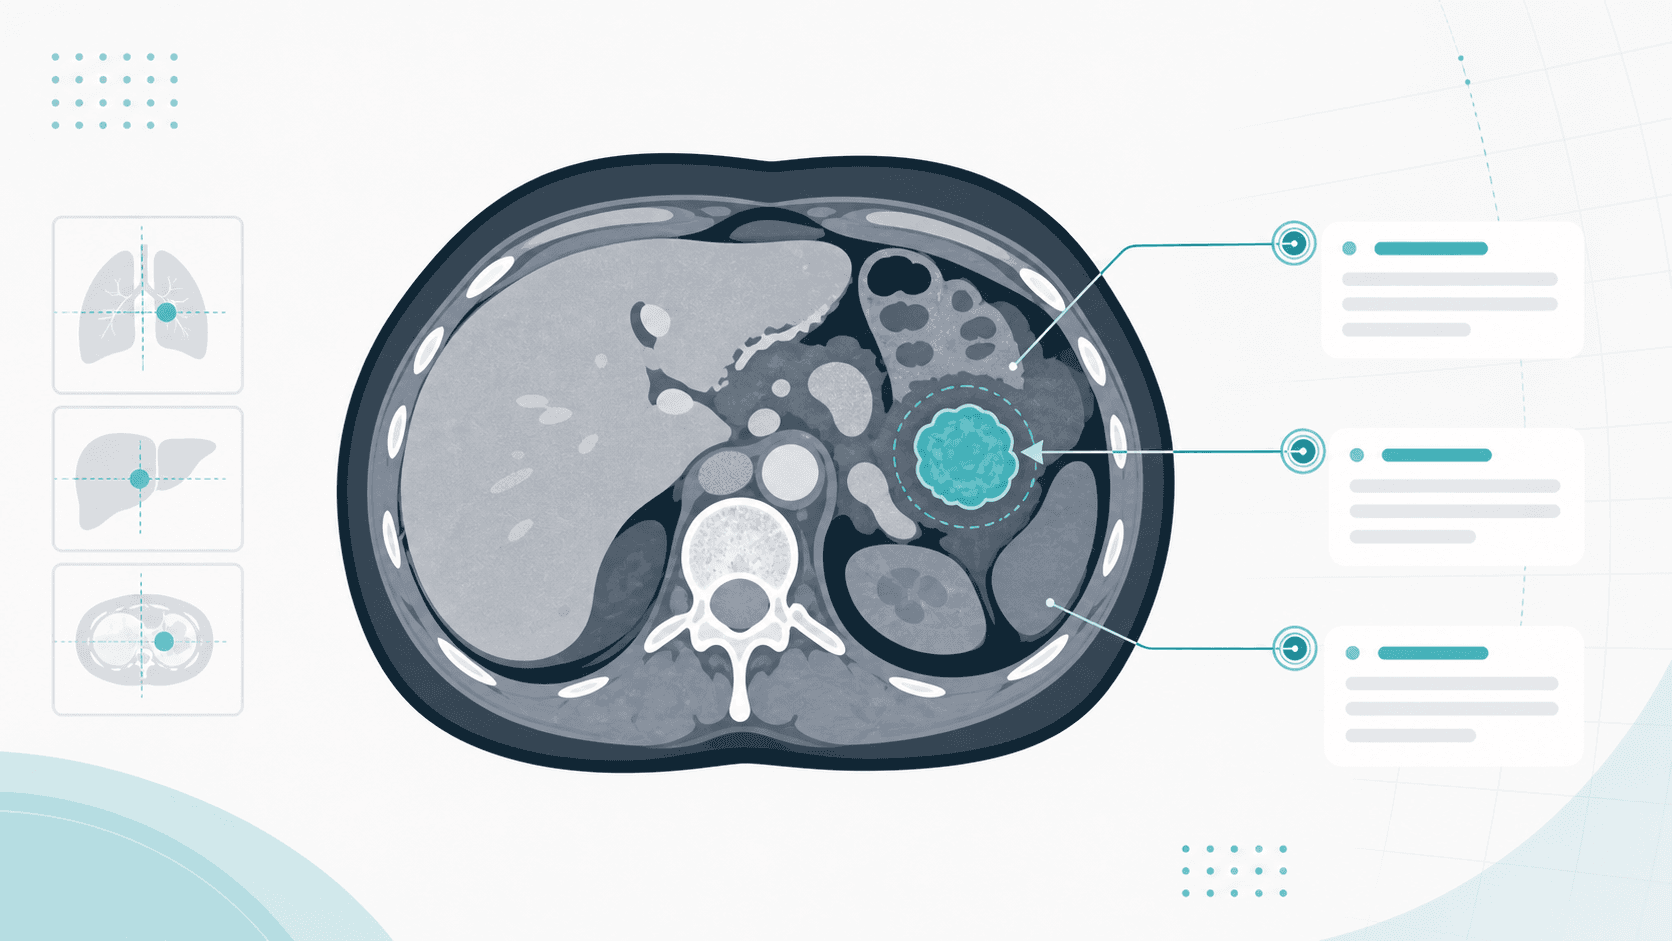
Une figure de radiologie échoue dès l'instant où le lecteur ne sait pas de quelle opacité vous parlez. Dans une diapositive pédagogique ou un cas clinique, l'image seule suffit rarement : un verre dépoli, une lésion hypodense discrète ou un trait de fracture costale ne devient une preuve que lorsque vous le désignez. C'est cette désignation qu'est l'annotation — elle transforme une image en argument.
Ce guide explique comment bien désigner. Il couvre l'étiquetage des lésions au scanner, à l'IRM et sur la radiographie thoracique, le choix entre annoter un examen réel ou dessiner un schéma, et la retouche honnête des images médicales pour informer sans induire en erreur.
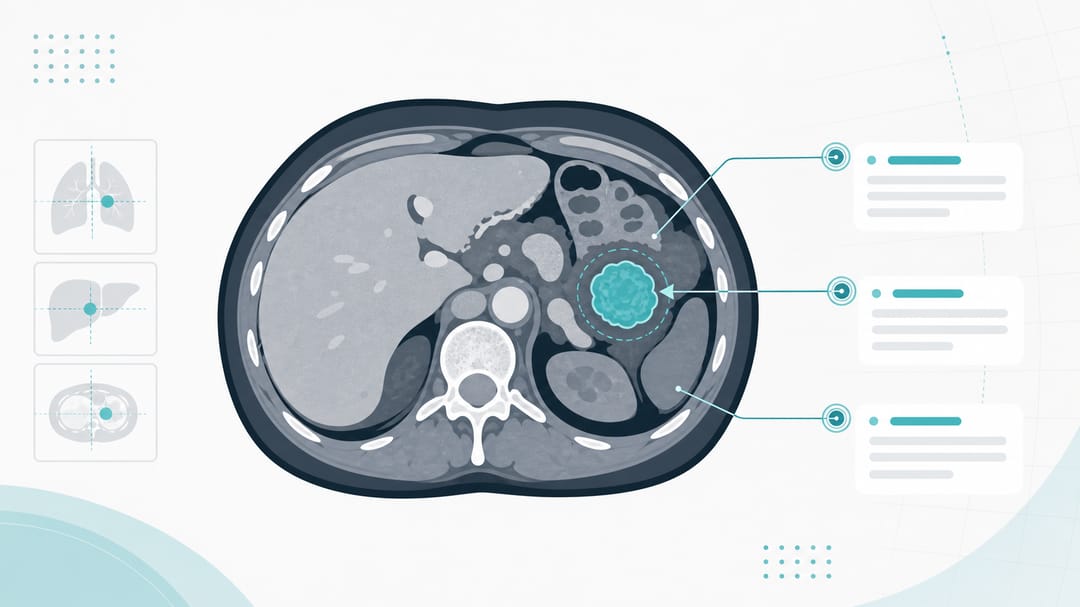
Ce que fait vraiment une bonne annotation médicale
Une figure d'imagerie annotée n'a qu'une mission : diriger l'œil du lecteur vers un signe et le nommer, sans masquer le contexte dont il a besoin pour le juger. L'annotation doit résister à deux secondes de lecture sur une diapositive projetée et récompenser une minute d'examen attentif dans un article imprimé.
Cela signifie que chaque marque ajoutée est une affirmation. Une flèche dit « le signe est ici ». Un compas de mesure dit « il mesure ceci ». Un cadre de région d'intérêt (ROI) dit « comparez l'intérieur et l'extérieur ». Une marque décorative entre en concurrence avec celles qui portent du sens. Quand vous étiquetez des lésions pour une publication, traitez l'annotation comme une phrase des Résultats — précise, défendable et rien de superflu. Pour une première mise en page rapide, décrivez votre cas au générateur d'illustrations cliniques et affinez les lignes de rappel qu'il produit.
Annoter un examen réel ou dessiner un schéma
La première décision est de savoir si vous annotez l'image réelle (issue du DICOM) ou si vous dessinez un schéma net à côté. Les deux répondent à des questions différentes.
- Annoter l'image réelle quand l'image est le propos — la texture d'un verre dépoli, le contour exact d'une masse, l'aspect authentique qu'un interne doit apprendre à reconnaître. La preuve radiologique perd sa force dès qu'elle cesse de ressembler à un examen réel.
- Dessiner un schéma quand vous enseignez un concept plutôt qu'un cas précis — la topographie typique d'un infarctus jonctionnel, les champs pulmonaires, la façon dont une hernie déplace les structures médianes. Un schéma est honnête justement parce que personne ne le confond avec l'examen d'un patient.
- Les deux côte à côte donnent la figure pédagogique la plus forte : à gauche l'examen réel avec une annotation minimale, à droite un schéma étiqueté qui lui correspond. Le lecteur voit le signe et le modèle idéalisé d'un seul regard.
Une erreur fréquente consiste à styliser un schéma pour le rendre photographique, ou à peindre une lésion sur un examen réel. Les deux brouillent la frontière entre l'observé et le dessiné. Gardez cette frontière visible.
Étiqueter les lésions au scanner, à l'IRM et en radiographie
La modalité change ce que votre annotation doit respecter.
Scanner. Les signes dépendent du fenêtrage : indiquez-le en légende (fenêtre pulmonaire, médiastinale, osseuse) — une annotation ne vaut rien si le lecteur ne peut reproduire le contraste que vous avez vu. Des flèches pour les lésions focales, des cadres ROI en pointillés quand vous citez des unités Hounsfield. Gardez les marques hors de la lésion ; pointez depuis le bord.
IRM. Étiquetez toujours la séquence (T1, T2, FLAIR, diffusion) sur ou à côté de chaque vignette, car une même lésion apparaît en signal opposé selon la séquence. Sur un panneau multiséquences, placez la flèche à la même position dans chaque vignette pour que le lecteur suive une lésion au fil de son signal changeant.
Radiographie thoracique. Peu contrastée et chargée, elle exige le plus de discipline d'annotation. Une seule flèche bien placée vaut mieux qu'une nuée de marques. Indiquez le côté (marqueur « D »/« G » persistant) et, si vous recadrez, conservez assez de côtes et de médiastin pour l'orientation.
Une mise en page d'annotation réutilisable
Quelle que soit la modalité, une figure propre partage souvent la même anatomie :
- L'image dans l'orientation conventionnelle. Gardez l'orientation radiologique (le côté droit du patient à gauche pour l'observateur). Ne retournez pas un examen pour arranger la mise en page — les erreurs de latéralité sont dangereuses.
- Une ligne de rappel principale par signe. Une flèche partant d'un fond libre vers le bord de la lésion, jamais par-dessus.
- Des étiquettes courtes, reliées à la légende. Des lettres ou des sigles brefs sur l'image, développés dans la légende.
- Une référence d'échelle et l'orientation. Une barre d'échelle ou la mesure de l'appareil, plus les métadonnées séquence/fenêtre/latéralité.
- Une couleur cohérente. Une couleur d'annotation très contrastée pour tous les signes du même type ; une deuxième couleur seulement pour une véritable seconde catégorie.
Un exemple d'invite pour un schéma
Quand il vous faut un schéma d'accompagnement plutôt qu'un examen annoté, une description en langage simple donne vite un premier jet. Une invite comme celle-ci fournit assez de structure à un outil d'illustration :
Create a clean, labeled schematic of an axial chest CT at the level of the
carina for a teaching figure. Show the two lungs, mediastinum, heart, and
airways in a simplified line style. Mark a single rounded nodule in the
right upper lobe with a leader arrow labeled "solitary pulmonary nodule."
Add small labels for: trachea, aorta, right lung, left lung. Neutral
palette, flat vector look — clearly a diagram, not a photograph. Leave
space for a caption below.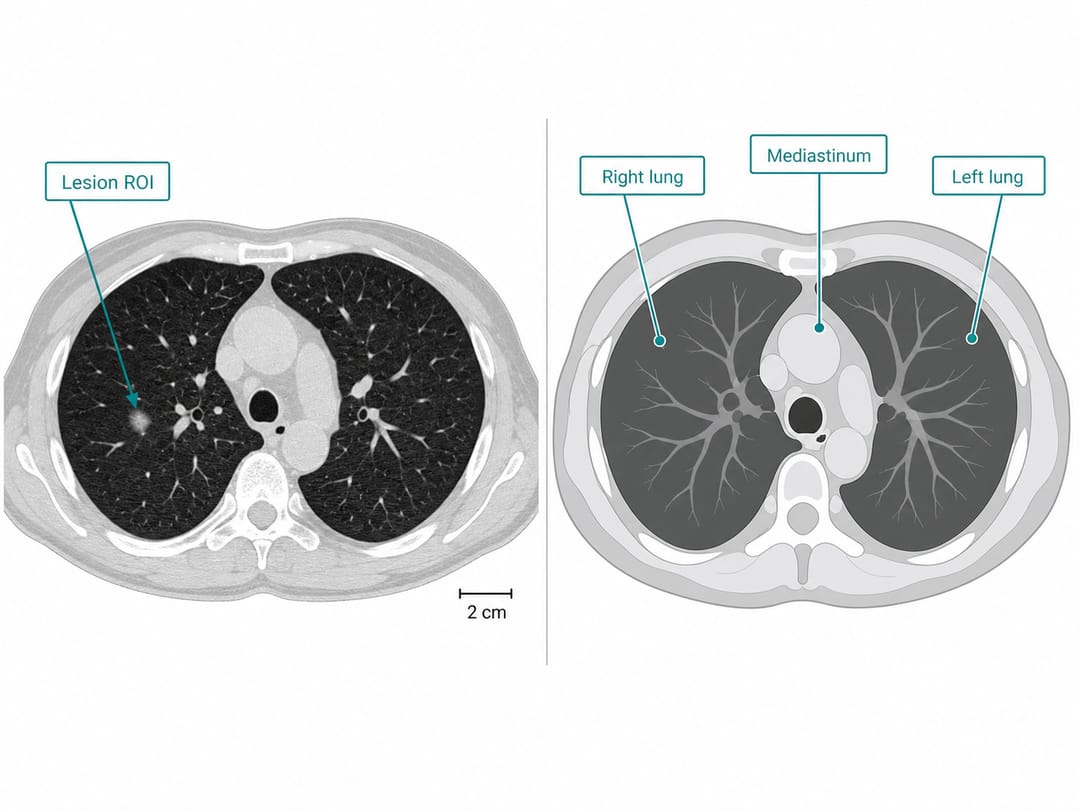 Un pendant schématique à un scanner — un diagramme annoté, clairement pas une photographie.
Ajustez ensuite les étiquettes et la géométrie au concept que vous enseignez. L'outil vous fait franchir la toile blanche ; le jugement clinique reste le vôtre.
L'éthique de la retouche des images médicales
C'est ici que se séparent la bonne figure et celle qui trompe. Les revues et les sociétés de radiologie tracent une frontière nette entre ajustement d'affichage et manipulation, et votre figure doit rester du bon côté.
- Autorisé (si appliqué à toute l'image et déclaré) : recadrage, réglage de la luminosité/du contraste ou du fenêtrage, reconstructions standard. Cela change la manière dont l'image est affichée, pas son contenu.
- Interdit : effacer ou ajouter de l'anatomie, peindre ou gommer une lésion, cloner des zones, ou ajuster sélectivement une partie de l'image pour souligner un signe. C'est fabriquer une preuve.
- Toujours requis : retirer les identifiants du patient (nom, numéro de dossier, dates incrustées dans les pixels, traits du visage sur les reconstructions 3D) avant que l'image ne quitte le système clinique, et vérifier le consentement et l'accord éthique (CPP/IRB) exigés par la revue.
- Garder les annotations sur un calque séparé des pixels, pour qu'il soit toujours clair ce qui est l'examen et ce qui est votre marquage — et pour qu'un relecteur puisse voir l'original non annoté.
Le test est simple : pourriez-vous montrer la figure annotée et l'examen brut côte à côte sans gêne ? Si oui, votre retouche relève de l'affichage, pas de la tromperie.
Une liste de contrôle finale
Avant que la figure n'entre dans un diaporama ou un manuscrit, vérifiez :
- Chaque signe évoqué est-il marqué, et rien de marqué que vous n'évoquiez pas ?
- La modalité, la séquence/fenêtre et la latéralité sont-elles indiquées pour que le lecteur reproduise votre vue ?
- Voit-on d'emblée quels panneaux sont des examens réels et lesquels sont des schémas ?
- Tous les identifiants du patient ont-ils été retirés, et le consentement/l'éthique sont-ils en règle ?
- L'image brute non annotée soutiendrait-elle chaque affirmation de votre marquage ?
Pour des conseils de mise en page et de révision, voyez Dessiner des figures scientifiques : le guide complet, le guide des invites IA pour de meilleures invites de génération, et Réviser ses figures après relecture par les pairs pour répondre aux demandes des relecteurs sur les panneaux d'imagerie.
Quand il vous faut placer un schéma à côté d'un examen réel, ou une illustration anatomique nette pour un cas clinique, lancez un brouillon avec le générateur d'illustrations médicales et peaufinez jusqu'à ce que chaque étiquette soit vraie. Une figure médicale gagne la confiance comme un diagnostic — en pointant exactement ce qui est là, et rien qui n'y soit pas.