Sie kennen diese Mail: „Abbildung 2 liegt unter dem Minimum von 300 DPI" oder „Bitte als TIFF erneut einreichen" – und die Quelldatei ist unauffindbar. Vielleicht ein PNG vom Co-Autor, ein Ausschnitt aus einer Folie, oder die .ai-Datei liegt auf dem Laptop einer Person, die vor zwei Jahren promoviert hat.
In diesem Leitfaden geht es genau darum: eine Abbildung reparieren, wenn man sie nicht einfach neu exportieren kann.
Die 60-Sekunden-Lösung: Laden Sie Ihr PNG/JPG in SciDraw AI Convert, wählen Sie 300 DPI (Fotos) oder 600 DPI (Strichzeichnungen), lassen Sie die KI-Superauflösung die fehlenden Pixel rekonstruieren und exportieren Sie als TIFF (LZW), PNG oder PDF in der Druckbreite Ihres Journals. Zum Ausprobieren gibt es täglich kostenlose Credits, und es funktioniert für Nature, Science, Cell, Elsevier, Springer, Wiley und ACS.
Abbildung wegen Auflösung oder Format zurückgewiesen? PNG oder JPG hineinziehen, DPI wählen, einreichungsfertiges TIFF exportieren – unter 5 Minuten, täglich kostenlose Credits.
Welcher Fall ist Ihrer?
| Ihre Situation | Die ehrliche Antwort |
|---|---|
Sie haben noch die Quelle (.py, .R, .ai, .svg) | Daraus mit 600 DPI exportieren – immer am saubersten. Code weiter unten. |
| Sie haben nur ein PNG / JPG / einen Screenshot | Echte Details lassen sich nicht von Hand ergänzen – genau dafür ist Convert da. |
| Schrift oder Strichgrafik wirkt auch nach dem Hochskalieren ausgefranst | Das Raster ist zu degradiert; bauen Sie das Panel in Scientific Figure Maker neu. |
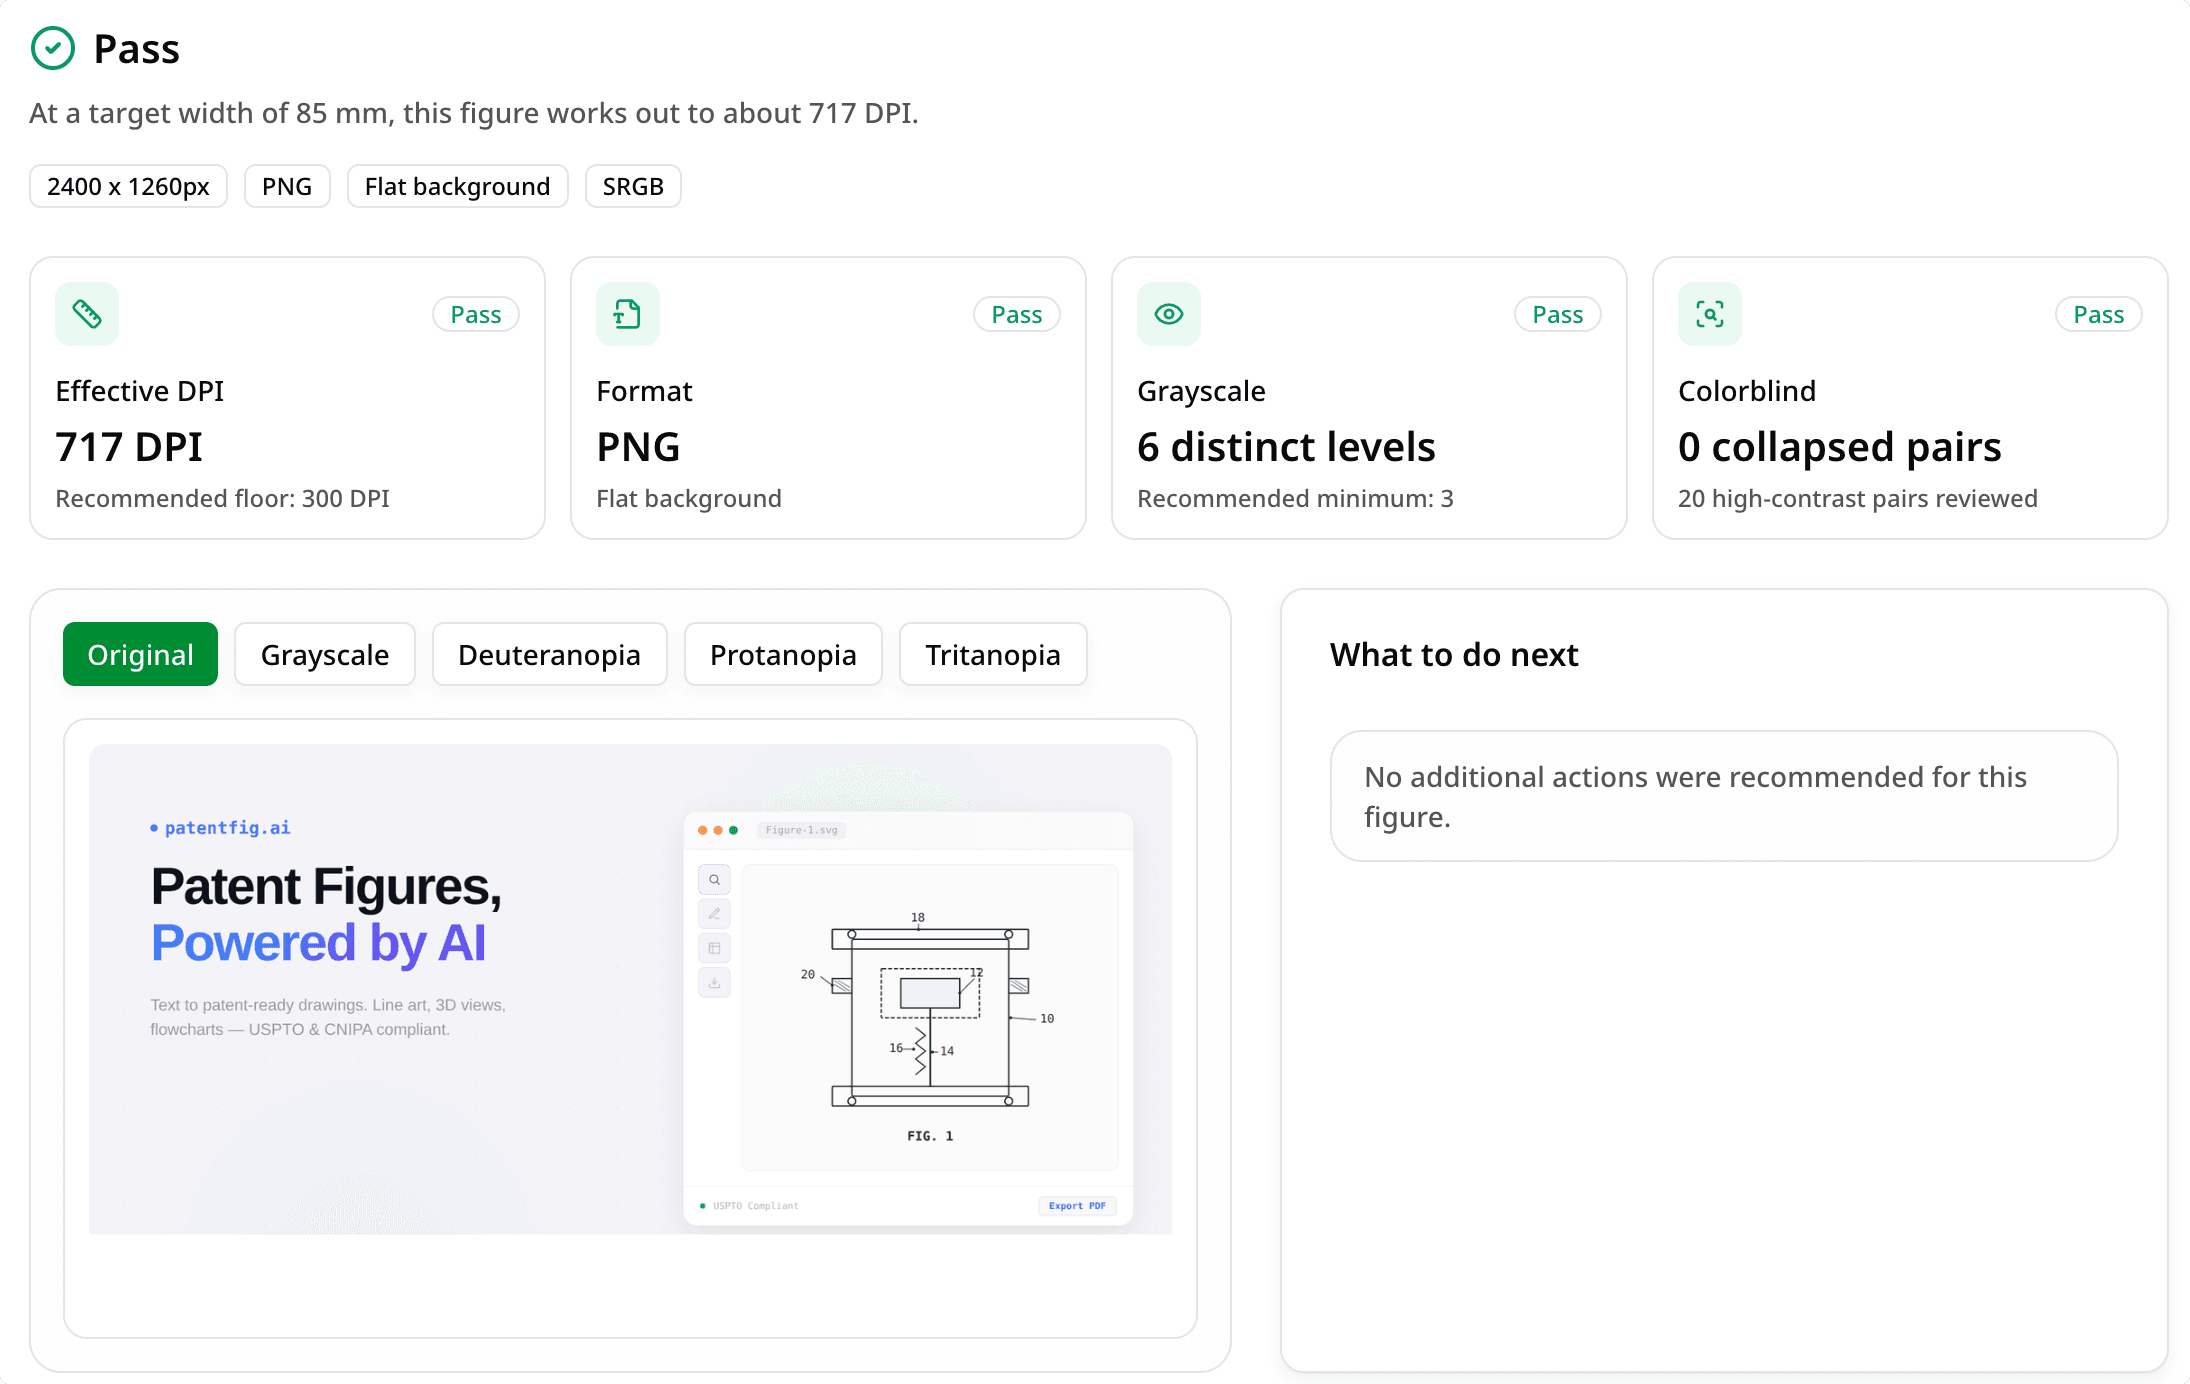
| Sie wissen nicht, welche Vorgabe gefehlt hat | Zuerst Figure Checker: DPI, Größe, Format und Farbmodus auf einen Blick. |
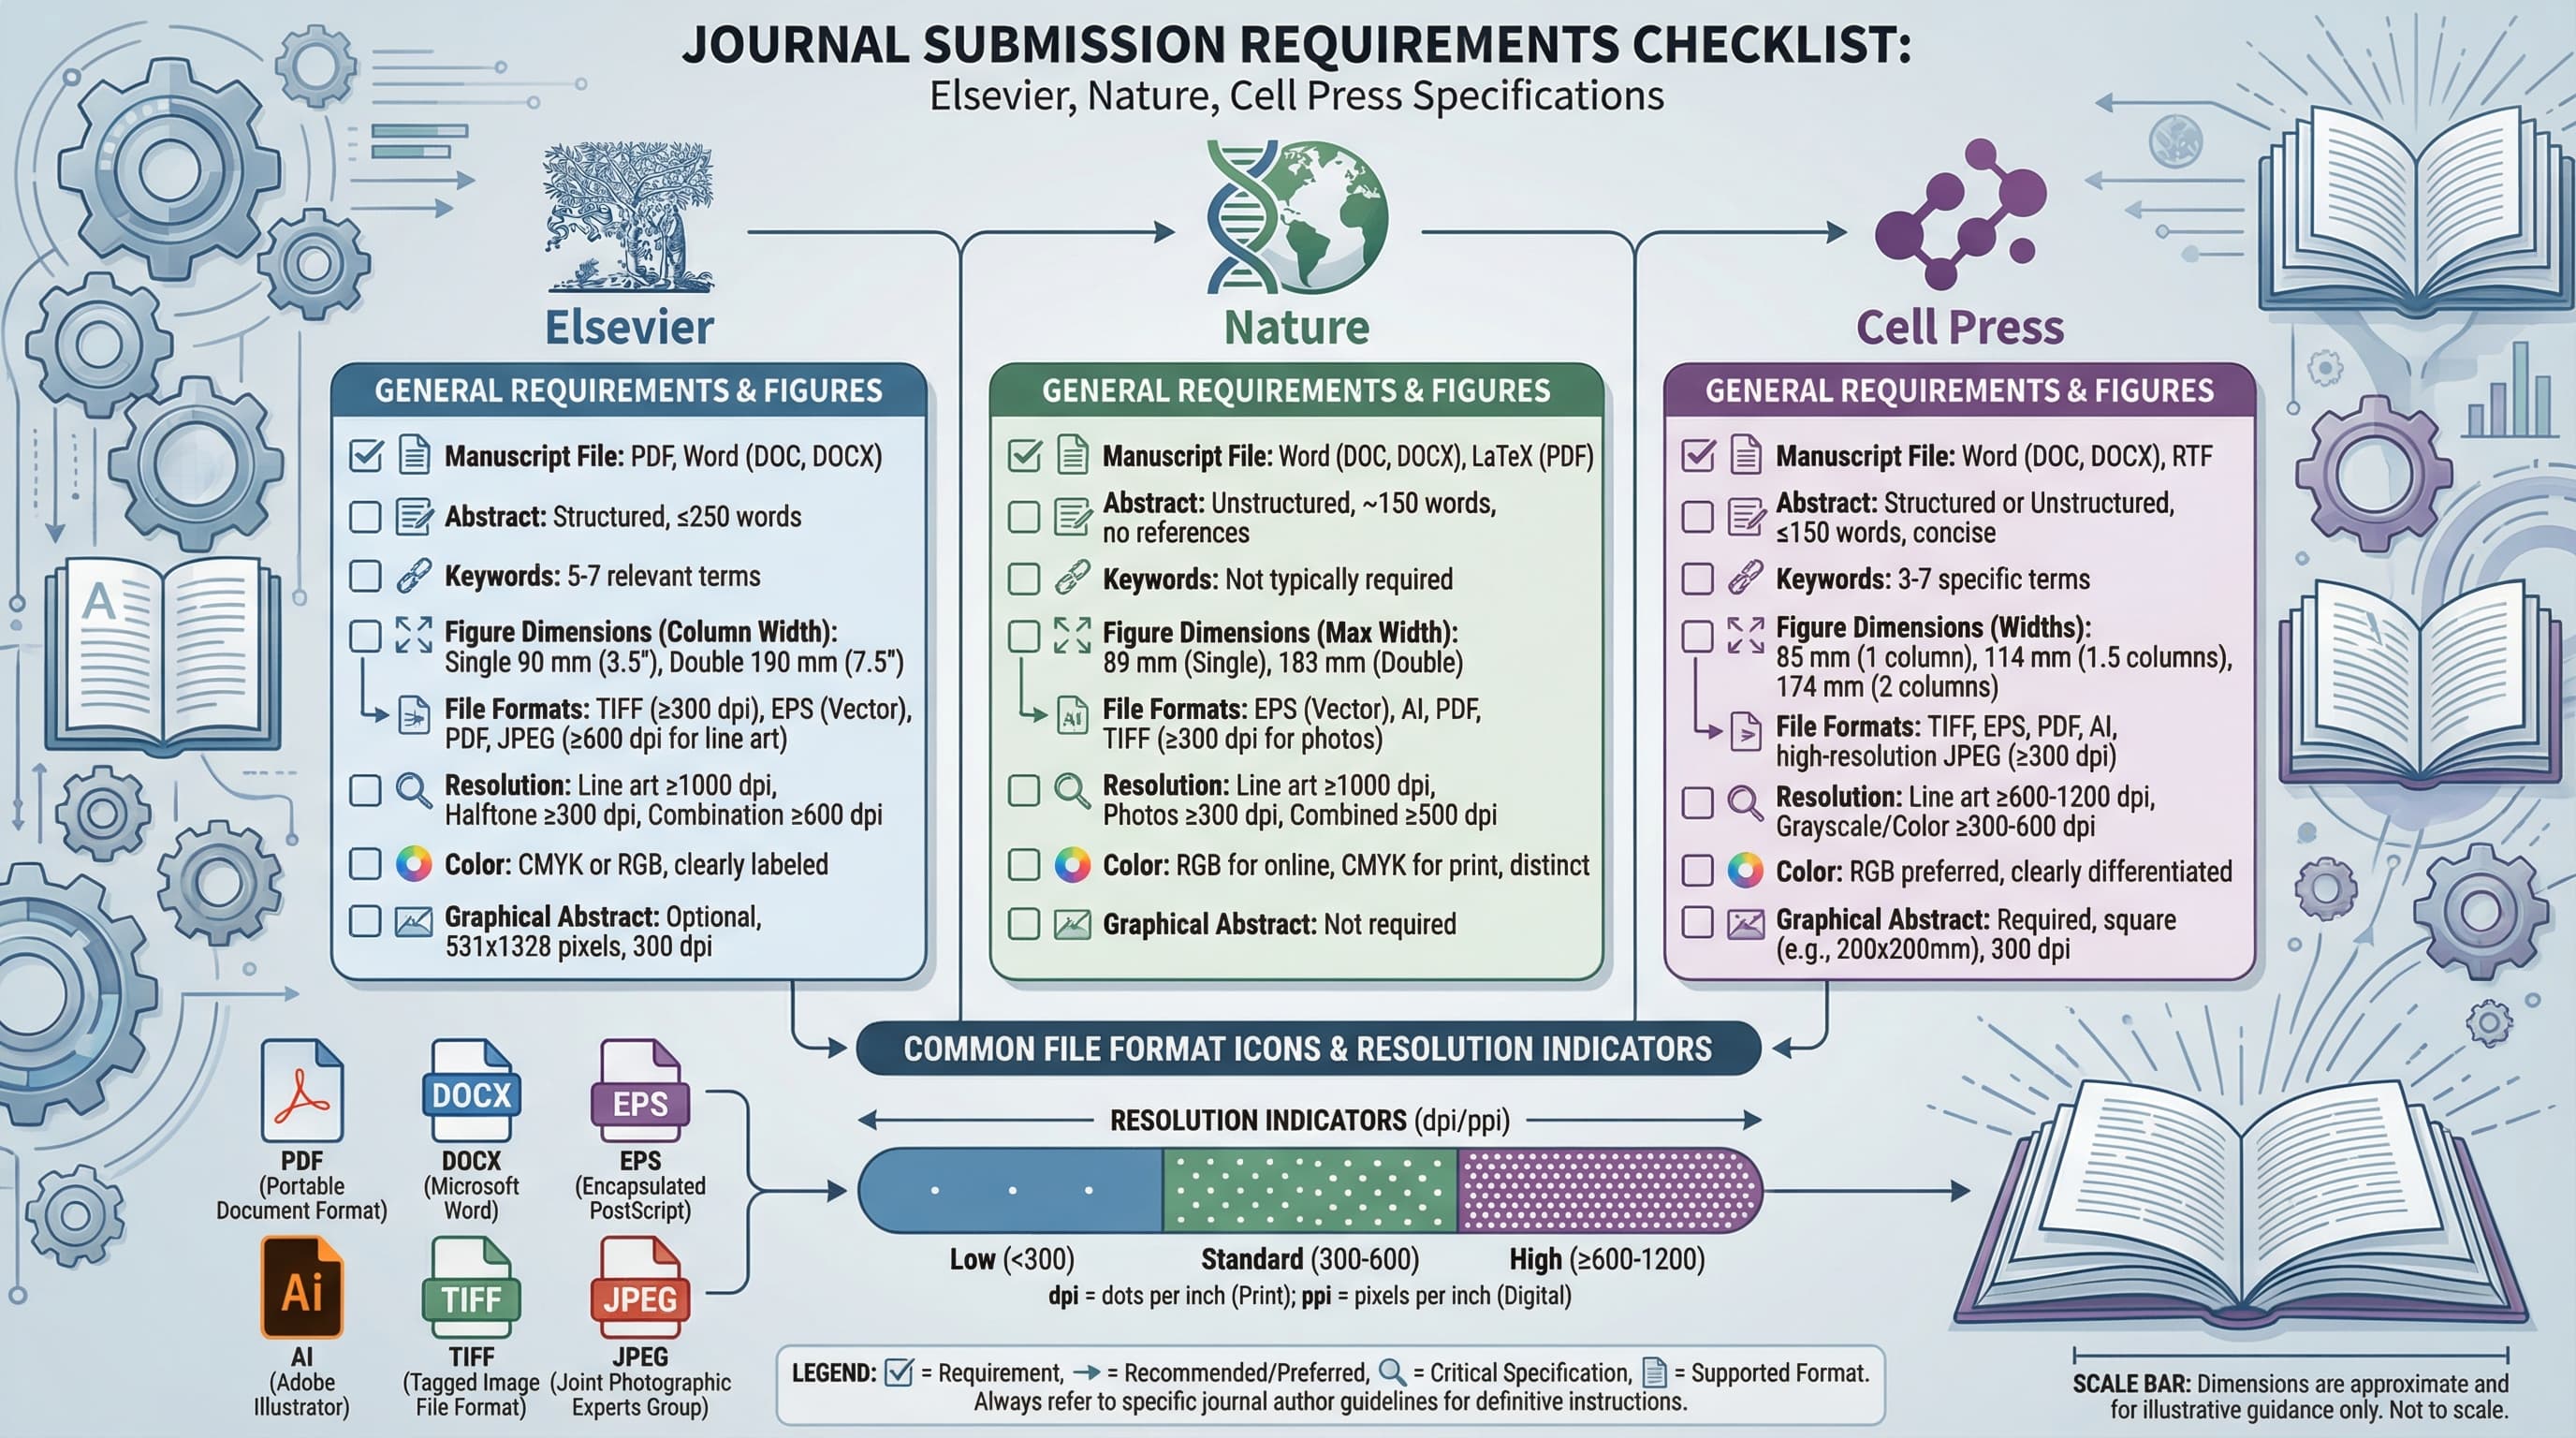
| Sie wollen erst alle Vorgaben sehen | Lesen Sie Nature-, Science- & Cell-Vorgaben. |
Im Rest des Leitfadens steht, warum „einfach auf 300 DPI stellen" nicht funktioniert – und wie Sie ohne Raten den richtigen Weg wählen.
Warum „einfach auf 300 DPI stellen" nicht klappt
Das ist das häufigste Missverständnis und schickt viele im Kreis.
DPI ist kein Qualitätsregler, sondern ein Verhältnis – wie viele Pixel pro gedrucktem Zoll. Die DPI-Metadaten zu ändern erzeugt keine Pixel; es packt die vorhandenen nur enger, sodass die Abbildung kleiner wird, nicht schärfer.
Die Mathematik ist unerbittlich:
- Ein 800 Pixel breites Bild druckt bei 300 DPI nur 2,67 Zoll breit.
- Dasselbe Bild bei 600 DPI: 1,33 Zoll – noch kleiner.
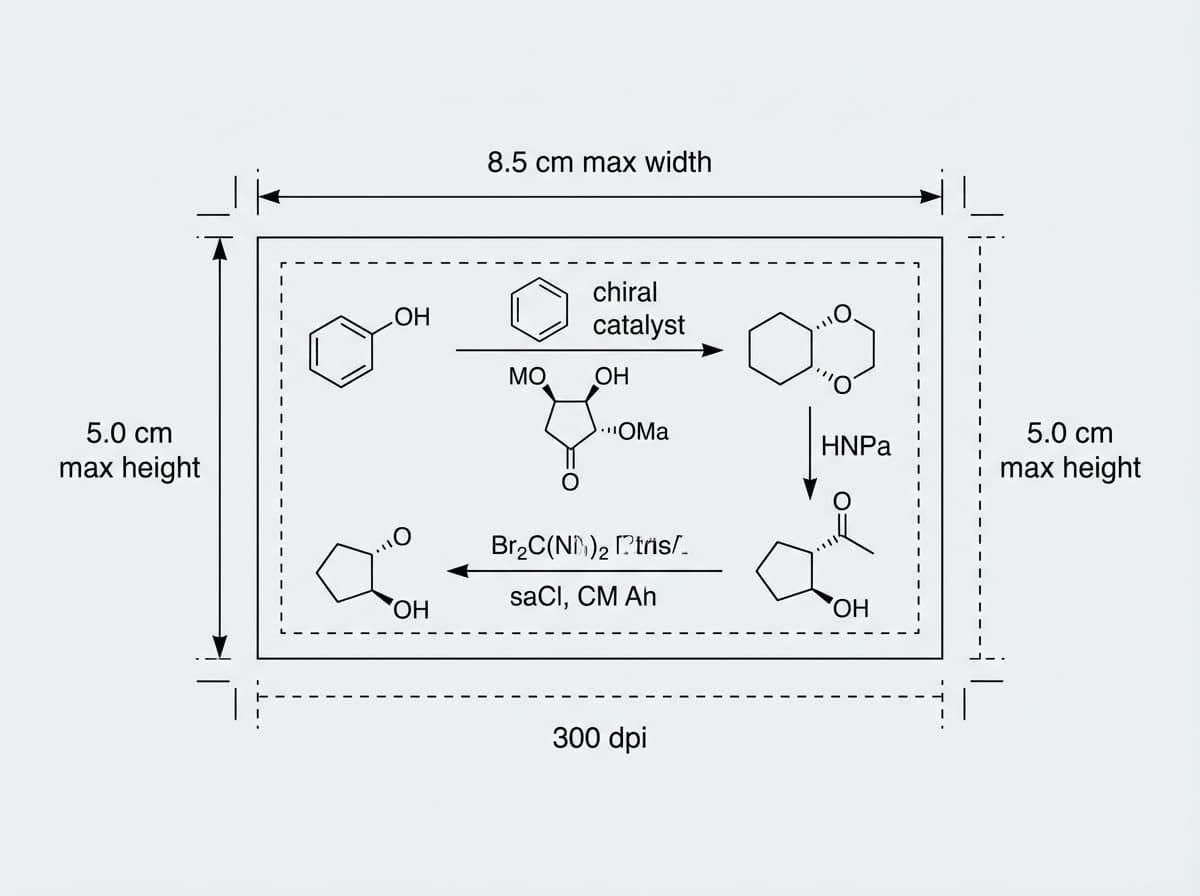
- Eine Nature-Spalte ist 88 mm (3,46 Zoll), also brauchen Sie mindestens 1.038 Pixel bei 300 DPI oder 2.076 Pixel bei 600.
Die eigentliche Frage lautet also nie „wie ändere ich die DPI?", sondern „woher kommen die zusätzlichen Pixel?". Es gibt nur zwei Quellen: Neuexport aus dem Original (falls vorhanden) oder Rekonstruktion per KI-Superauflösung (falls nicht).
Wie viele Pixel brauchen Sie wirklich?
benötigte Pixel = Druckbreite (Zoll) × Ziel-DPI
| Finale Druckbreite | 300 DPI | 600 DPI | 1000 DPI |
|---|---|---|---|
| 3,5 Zoll (eine Spalte) | 1.050 px | 2.100 px | 3.500 px |
| 5,5 Zoll (1,5 Spalten) | 1.650 px | 3.300 px | 5.500 px |
| 7 Zoll (ganze Seite) | 2.100 px | 4.200 px | 7.000 px |
Erreicht Ihr Bild den Wert der benötigten Spalte bereits, nicht hochskalieren – dann reicht eine Formatumwandlung. Erst wenn es zu klein ist, brauchen Sie mehr Pixel.
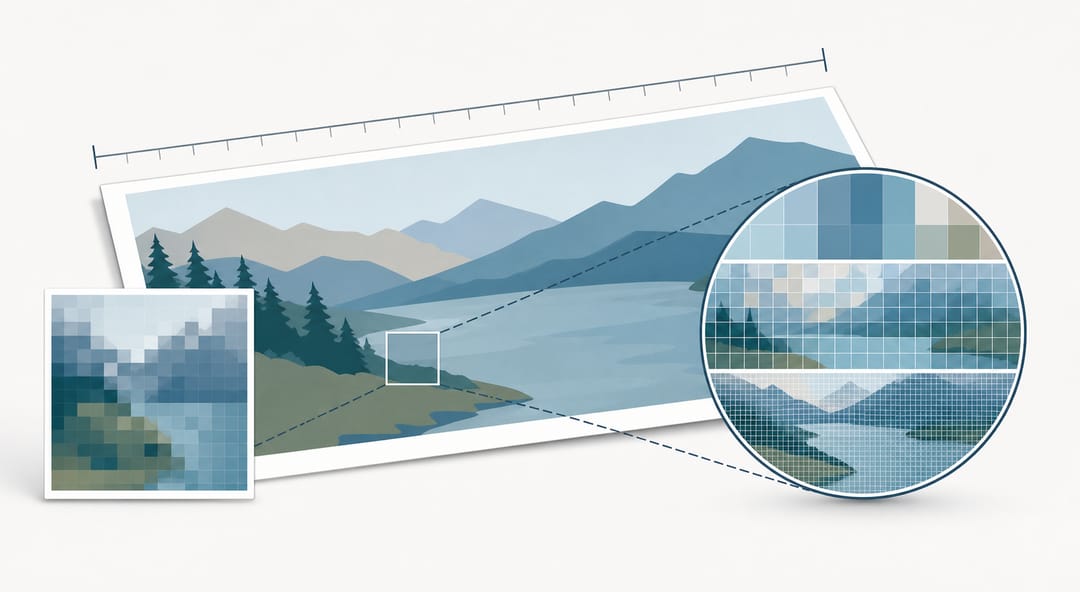 DPI ist die Anzahl Pixel pro gedrucktem Zoll, kein Qualitätsregler – dieselben Pixel enger gepackt drucken nur kleiner, nicht schärfer.
Wenn Sie nur ein PNG, JPG oder einen Screenshot haben
Diesen Fall löst die manuelle Methode nicht, und er ist häufiger, als alle zugeben – die Abbildung kam von einer mitarbeitenden Person, aus einem alten Foliensatz oder als Screenshot aus einem Entwurf. Es gibt keine Quelle zum Neuexport, also verschmiert klassisches Skalieren (Photoshops „Bikubisch", Vorschau-Größenänderung) nur das ohnehin Unscharfe.
KI-Superauflösung ist anders: Sie streckt keine Pixel, sondern rekonstruiert Kanten und Details.
| Einfaches Skalieren | KI-Superauflösung |
|---|---|
| Streckt, Kanten verschwimmen | Rekonstruiert scharfe Kanten |
| Blockartefakte beim Vergrößern | Sauberes, durchgängiges Detail |
| Wird größer immer schlechter | Hält der Druckgröße stand |
Die konkreten Schritte
- SciDraw AI Convert öffnen und Ihr PNG oder JPG (bis 10 MB) hineinziehen.
- Ausgabeformat wählen, das Ihr Journal verlangt – meist TIFF (LZW), PNG für Transparenz, PDF für vektorfreundliche Workflows.
- DPI-Stufe wählen: 300 DPI (~1K) für Fotos, 600 DPI (~2K) für detaillierte Abbildungen, 1000 DPI (~4K) für Strichgrafik und Poster. Liegt die Quelle darunter, greift die Superauflösung automatisch.
- Herunterladen und prüfen – Eigenschaften (Windows) oder Vorschau → Informationen (Mac): Auflösung kontrollieren.
Keine Quelldatei? Starten Sie mit dem PNG. Die KI-Superauflösung rekonstruiert die Pixel, die das Journal braucht, und exportiert TIFF/PNG/PDF in der richtigen Breite.
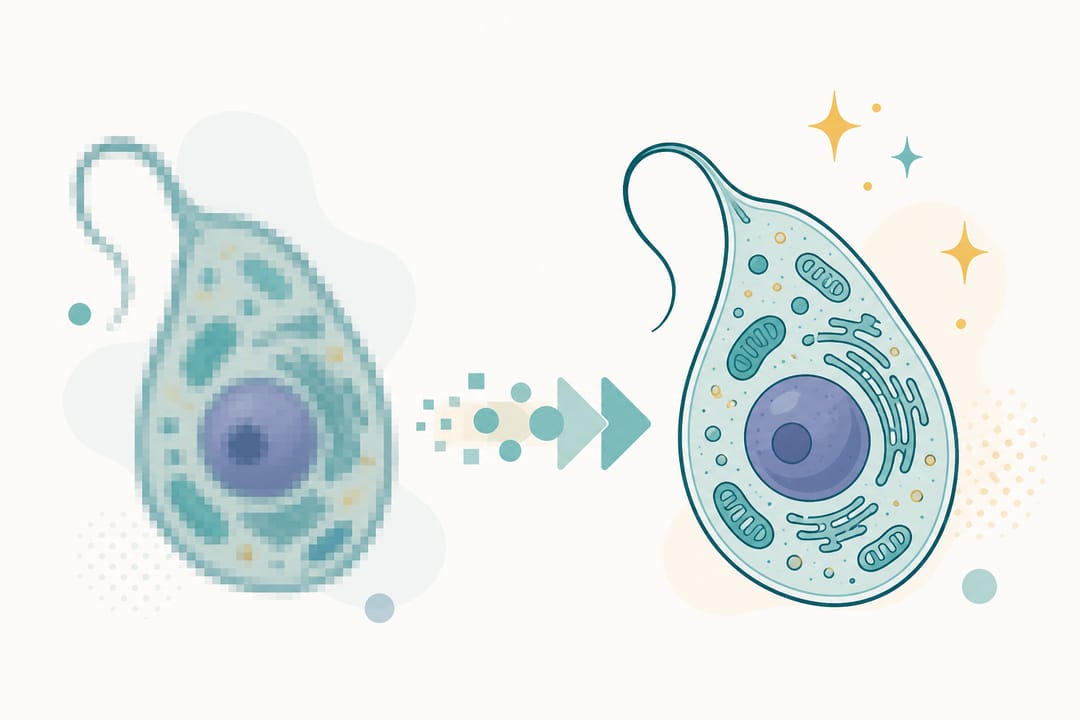 KI-Superauflösung rekonstruiert scharfe Kanten und Details, statt vorhandene Pixel zu strecken, sodass die Abbildung der Druckgröße standhält.
Ein ehrlicher Hinweis: Superauflösung erfindet plausible Details, keine echten Daten. Für Diagramme, Schemata und Beschriftungen ist sie zuverlässig; bei Mikroskopaufnahmen und Blots erkennen Gutachter rekonstruierte Textur mitunter – haben Sie die Originaldatei, nutzen Sie diese. Wirkt das KI-Ergebnis in Druckgröße noch weich, ist das das Signal, das Panel neu zu bauen (nächster Abschnitt).
Wenn Hochskalieren nicht hilft – neu aufbauen
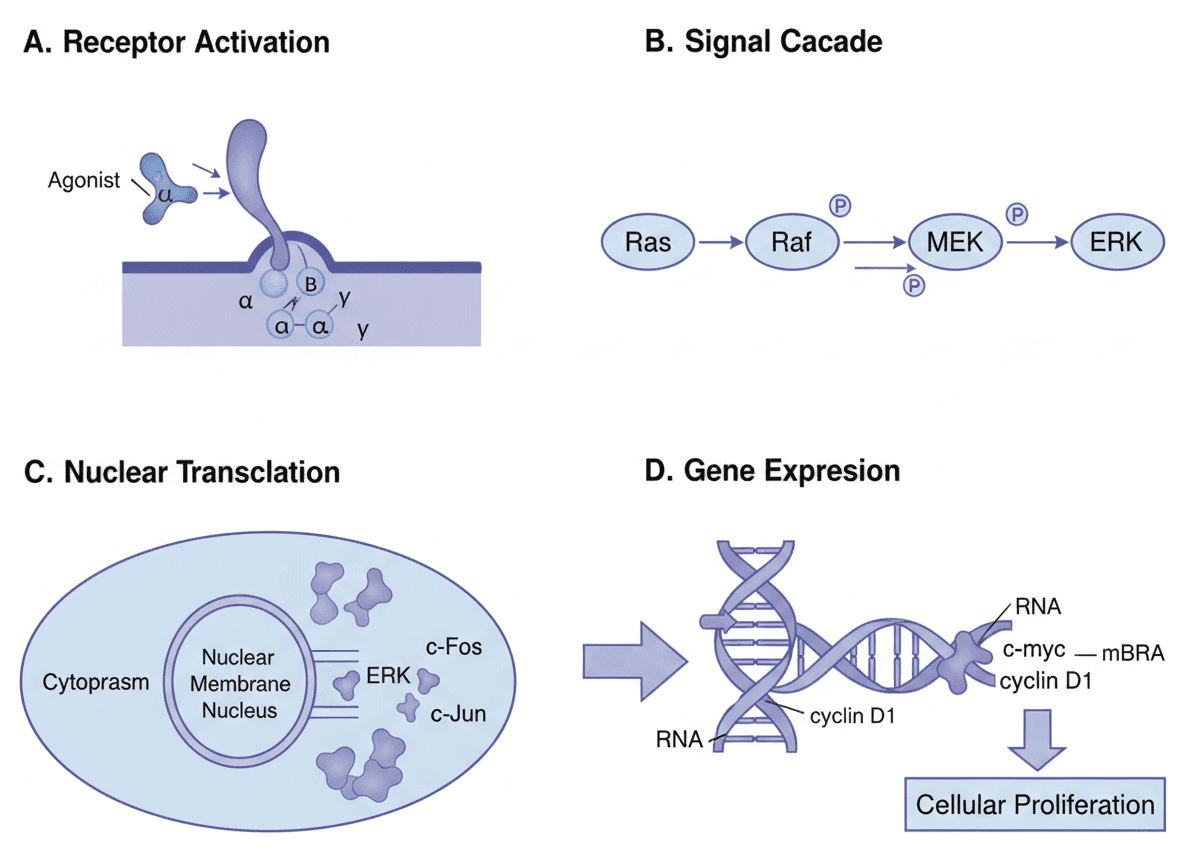
Manche Abbildungen sind zu weit hin. Ein 400-px-Screenshot eines beschrifteten Schemas lässt sich nicht in scharfen 8-pt-Text hochskalieren – die Buchstabenformen waren nie da. Wenn der Inhalt einfach, die Datei aber ruiniert ist, ist Neuaufbau schneller als der Kampf.
Scientific Figure Maker erzeugt das Panel – Mechanismus, Workflow, Schema – als frische, hochauflösende Abbildung mit scharfen, editierbaren Beschriftungen und exportiert direkt nach Journal-Vorgabe. Nutzen Sie es, wenn:
- der Text unscharf ist und es nach dem Hochskalieren bleibt,
- Sie nur ein winziges Thumbnail Ihrer eigenen Abbildung haben,
- das Layout für die Revision ohnehin geändert werden muss.
Wenn Sie die Quelldatei noch haben
Können Sie neu exportieren, tun Sie es – immer die hochwertigste Variante und obendrein kostenlos. Setzen Sie die Größe in physischen Einheiten, damit sie direkt zur Spaltenbreite passt.
Python / matplotlib:
plt.savefig(
    'figure.tif',
    dpi=600,
    bbox_inches='tight',
    format='tiff',
    pil_kwargs={'compression': 'tiff_lzw'},
)
R / ggplot2:
ggsave("figure.tiff", dpi = 600, width = 180, height = 120,
       units = "mm", compression = "lzw")  # 180 mm = Nature Doppelspalte
Illustrator / Inkscape: mit 600 DPI exportieren, Bilder einbetten (nicht verknüpfen), Text als Text belassen. Ist die Abbildung ein echtes SVG und Sie wollen vor dem Export nur Beschriftung oder Farbe ändern, siehe SVG-Abbildungen bearbeiten.
Das ist der ganze Trick: Breite in Millimetern, DPI explizit, TIFF mit LZW für eine kleinere verlustfreie Datei.
Die fünf Fehler, die zu erneuter Ablehnung führen
- JPEG einreichen. Die Kompression erzeugt Schlieren um Text und Linien, die die Produktion sofort beanstandet. TIFF oder PNG.
- Strichgrafik hochskalieren statt neu exportieren. Diagramme aus matplotlib/R/Illustrator immer aus der Quelle mit 600 DPI exportieren – nie ein Raster vergrößern.
- Abbildung in Word einbetten. Word komprimiert Bilder neu. Immer separate Bilddateien hochladen.
- Screenshot als finale Grafik. Screenshots haben 72–96 DPI; rekonstruierte Details haben Grenzen.
- Farbmodus ignorieren. Einige Journals verlangen CMYK für den Druck – vor dem Export prüfen.
Häufige Fragen
Wie wandle ich ein PNG in ein 300-DPI-TIFF für die Einreichung um?
PNG in SciDraw AI Convert laden, TIFF als Ausgabe und die 300-DPI-Voreinstellung wählen. Liegt die Quelle bei Ihrer Spaltenbreite unter 300 DPI, ergänzt die KI-Superauflösung die Pixel automatisch. Herunterladen und in Eigenschaften (Windows) bzw. Vorschau → Informationen (Mac) auf 300 DPI prüfen.
Warum funktioniert „DPI einfach auf 300 stellen" nicht?
Weil DPI ein Verhältnis ist, keine Qualitätseinstellung. Die Metadaten von 96 auf 300 zu ändern fügt keine Pixel hinzu, sondern verkleinert die Druckgröße. Ein 800×600-Bild druckt bei 300 DPI 2,67 × 2 Zoll, weit unter Natures 88 mm. Sie brauchen mehr Pixel: aus der Quelle neu exportieren oder per KI-Superauflösung rekonstruieren.
Welche DPI verlangt Nature?
300 DPI für Fotos und Halbtöne (Gele, Blots, Mikroskopie), 600 DPI für Strichgrafik (Diagramme, Schemata). Gemischte Abbildungen sicherheitshalber 600. Format: TIFF (LZW), EPS oder PDF – nie JPEG für die finale Datei.
Kann ich einen Screenshot auf Journal-Niveau hochskalieren?
Hängt von der Quelle ab. Screenshots von Vektor-Inhalten (PDF-Text, Webseiten) skalieren sauber; Raster-Inhalte (Fotos, Mikroskopie) gewinnen kein echtes Detail – die KI füllt plausible Pixel, bei Mikroskopie sehen Gutachter das aber. Wenn möglich, aus der Originalanwendung neu exportieren; sonst ist Convert die beste Lösung, und Scientific Figure Maker der Ausweg bei unscharfem Text.
Warum TIFF statt PNG für Journals?
TIFF unterstützt CMYK (für die Druckproduktion nötig), verlustfreie LZW-Kompression, 16 Bit Tiefe und eingebettete ICC-Profile. PNG ist bei vielen Journals okay, kann aber in der Produktion neu konvertiert werden. Listet das Journal TIFF als bevorzugt, reichen Sie TIFF ein.
Wie groß darf die Datei höchstens sein?
Nature und Wiley begrenzen einzelne Abbildungen auf 10 MB; Cell und Science haben kein hartes Limit, bevorzugen aber unter ~50 MB. Bei Überschreitung 16-Bit-TIFF auf 8 Bit oder LZW – meist 30–50 % kleiner ohne Qualitätsverlust.
Wie prüfe ich die aktuelle DPI?
Windows: Rechtsklick → Eigenschaften → Details → „Horizontale/Vertikale Auflösung". Mac: Vorschau → Werkzeuge → Informationen → „Bild-DPI". Plattformübergreifend: Datei in Figure Checker ziehen – DPI, Maße, Farbmodus und Journal-Eignung auf einen Blick.
Jetzt reparieren
- Keine Quelle, niedrige DPI oder falsches Format → PNG/JPG in TIFF/PDF umwandeln
- Unklar, was gefehlt hat → DPI und Format prüfen
- Text nach dem Hochskalieren noch unscharf → Abbildung neu aufbauen
- Echtes SVG, nur Beschriftung/Farbe ändern → SVG-Abbildungen bearbeiten
Verwandte Leitfäden
- Nature-, Science- & Cell-Vorgaben – genaue Größe, DPI und Format
- Abbildungen vor der Einreichung prüfen – Checkliste
- Publikationsreife Abbildungen in Minuten – KI-Workflow
- Grafische Abstracts nach Journal – Vorgaben für Elsevier, Nature, Cell Press
- Figure-Checker-Tool – DPI, Format und Farbsicherheit prüfen
- Bildkonverter-Tool – in TIFF, PNG oder SVG umwandeln
- Referenz für Journal-Abbildungsanforderungen – filterbare, belegte Spezifikationen für 10 Verlage (CSV/JSON-Download)